
How To Hold A Kitchen Knife Correctly
Learning how to hold a kitchen knife correctly is one of the first skills that makes cooking at home feel easier and safer. A good grip gives you control, helps you cut evenly and lowers the chance of slipping. It also makes chopping feel less tiring.
This guide explains the basic parts of a knife, the pinch grip most cooks use, how to guide food with your other hand and common beginner mistakes. It also covers simple practice steps.
Key Takeaways
- Hold the handle, not the blade spine, and use a pinch grip for control.
- Keep the fingers of your guiding hand tucked so the knuckles lead the cut.
- Relax your grip and wrist, since a tight hold tires your hand and reduces precision.
- Practice slowly on soft foods before you try to increase your speed.
Why Your Knife Grip Matters
How a good grip improves control and accuracy
Your grip is the link between your hand and the blade. When it is secure, the knife moves where you intend it to go.
A steady hold also helps you cut evenly. Slices of the same thickness cook at the same rate, which matters in stir-fries, salads and roasted vegetables.
Common beginner mistakes that cause slips
Many slips happen when the knife is held too far up the blade or in a loose fist. The blade can twist during a cut.
Cutting on a wobbly board or with a dull edge is another common issue. Dull blades require more force, which makes it easier to lose control.
The Basic Parts of a Kitchen Knife
Blade, spine, edge and heel explained
The blade is the metal part that does the cutting. The edge is the sharpened side that meets the food, and the spine is the thick, unsharpened top opposite it.
The heel is the rear part of the blade, useful for heavier tasks. The tip is the front point, used for fine work and piercing.
Where the handle meets the blade
Where the handle joins the blade, many knives have a bolster, a thicker band of metal that adds weight and a stopping point for your fingers.
The bolster area is a good place for your pinch grip because it balances the knife and sits away from the sharp edge.
Step-by-Step Guide to the Pinch Grip
The pinch grip is the most widely taught method for chef’s knives and similar blades. It gives you precise control while keeping your hand relaxed. The steps below build the grip in order.
Positioning your thumb and index finger
Place the blade flat on a board with the handle in your dominant hand. Slide your thumb and index finger onto the sides of the blade where it meets the handle. Your thumb sits on one side and your index finger on the other, pinching the blade lightly at the bolster.
Keep the pinch close to the handle rather than the middle of the blade. This keeps the knife balanced and lets the blade move in a smooth line.
Wrapping the remaining fingers around the handle
Wrap your middle, ring and little fingers around the handle. They do not need to squeeze hard. Their job is to hold the knife in place while your pinch does the steering.
Let the handle rest in the palm of your hand, not pressed deep into the fingers. A loose wrap keeps the handle secure without causing tension.
Checking that the knife feels balanced in your hand
Lift the knife slightly and notice if it tips toward the blade or the handle. A well-balanced knife feels steady and level, which makes each cut easier to control.
If the knife feels front-heavy or awkward, move your pinch a little closer to the handle. Small changes often make a noticeable difference in comfort and control.
How to Hold the Knife While Cutting
Holding the knife correctly is only half the job. Your other hand guides the food, while your wrist and arm support the motion. Together, these habits keep each cut steady and safe.
Using your guiding hand to hold food safely
Your guiding hand, sometimes called the claw hand, holds the food in place so the blade can move through it cleanly. Keep this hand well away from the path of the blade.
Press the food firmly enough that it does not shift, but not so hard that it crushes soft produce. Rest the side of your guiding hand against the flat of the blade as a guide.
Curling your fingertips for a claw grip
Curl your fingertips under so the knuckles face the blade. This is often called the claw grip. The knuckles act as a shield and a guide, keeping the blade clear of your fingertips.
Keep the curl gentle and relaxed. A tight, stiff claw is harder to move and can slow your cuts.
Keeping your wrist relaxed during the cut
Let the knife move mainly from the wrist and forearm in a smooth rocking or downward motion. Avoid forcing the cut with your shoulder or elbow. A relaxed wrist reduces fatigue over longer prep sessions.
Allow the blade to do most of the work. Use its weight and sharpness rather than pushing hard.
Handle Shapes and Grip Differences
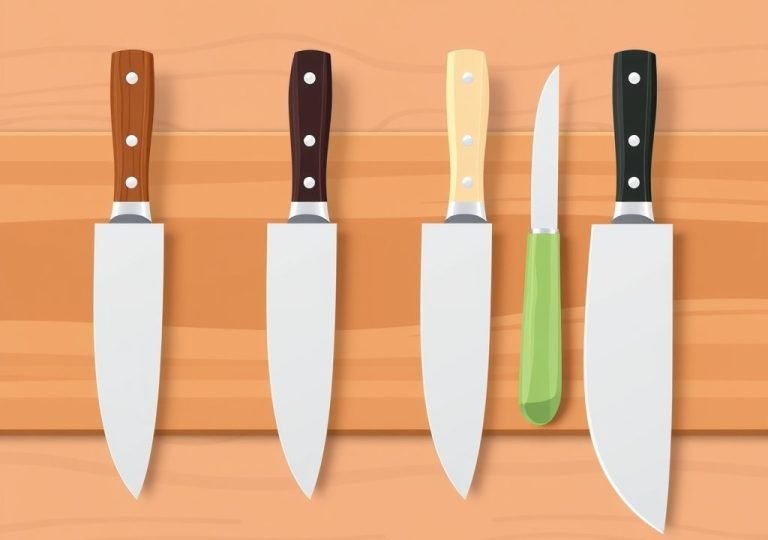
Knife handles come in several shapes and materials. The design affects how the knife feels and where your fingers can sit. Knowing the differences helps you adjust your grip.
Full-tang and partial-tang handles compared
The tang is the part of the blade that extends into the handle. A full tang runs the entire length of the handle, often with the metal visible or sandwiched between handle pieces. A partial tang extends only part of the way.
Full-tang knives generally feel more balanced and sturdy. Partial-tang knives can be lighter. Both can work well, so judge by how the knife feels in your hand.
How handle size affects comfort for small and large hands
A handle that is too large makes it hard to wrap your fingers comfortably. A handle that is too small may feel cramped and encourage a tight squeeze. Look for a handle that lets your fingers rest without stretching or crowding.
Hand size varies widely, so comfort matters more than a standard measurement. If a knife feels awkward, it may simply not suit your hand.
Common Grip Mistakes and How to Fix Them
Most beginner problems come from a few repeated habits. Spotting them early makes correction easier. The fixes below are simple to practice.
Gripping too tightly and tiring your hand
A tight squeeze can feel secure at first, but it tires the hand quickly. It also makes small movements harder to control. Loosen your fingers until the knife stays in place without tension.
If your forearm aches after a short session, check your grip strength. Relaxing your hold often solves the problem.
Holding the blade near the tip instead of the bolster
Gripping near the tip makes the knife feel unstable and harder to guide through dense food. Move your pinch back toward the bolster for better balance.
The bolster area offers a clear, stable point of control. Many cooks find this position more comfortable for longer tasks.
Letting your thumb slide onto the flat of the blade
A thumb resting on the flat of the blade can slip and push the blade off line. Keep your thumb firmly on the side of the blade near the bolster, not sliding toward the edge.
If your thumb drifts, pause and reset your pinch before you continue cutting. Slow, deliberate resets build a habit that stays with you.
Practice Tips for Beginners
Good grip habits develop with repetition. Short, focused practice works better than long, rushed sessions. The tips below help you build skill safely.
Practicing with a cutting board and soft vegetables
Start with a stable cutting board and soft foods such as cucumbers, zucchini or ripe tomatoes. These give way easily, so you can focus on your grip rather than force. Place a damp towel under the board to keep it from sliding.
Once your pinch feels natural, move on to firmer vegetables like carrots or onions. Keep your guiding hand in its claw position throughout.
Building muscle memory through short, regular sessions
Muscle memory forms when you repeat the same movement often. Ten to fifteen minutes of practice several times a week is usually more effective than one long session. Consistency matters more than intensity.
Pay attention to how the knife feels each time. Over days and weeks, the correct grip will start to feel automatic.
Knowing when to ask for help from an experienced cook
An experienced cook can spot small grip issues that are hard to notice yourself. They can show you the pinch in person, which is often clearer than written instructions. A class or a friend with cooking experience can be a useful resource.
Asking for feedback is a sign of good practice, not weakness. Even skilled cooks continue to refine their technique over time.
Frequently Asked Questions
What is the pinch grip and why do cooks use it?
The pinch grip holds the blade between your thumb and index finger near the bolster, with the other fingers wrapped around the handle. Cooks use it for precise control and balance. It also keeps the hand relaxed during long prep sessions.
Should I hold the knife by the handle or the blade?
Hold the knife by the handle, with your pinch placed near the bolster where the blade meets the handle. Avoid gripping the blade spine on its own, since this reduces control.
How tight should my grip be on a kitchen knife?
Your grip should be firm enough that the knife stays in place but relaxed enough that your hand does not ache. If your fingers turn white or your forearm tires quickly, loosen your grip.
Is it safe to hold a knife with my thumb on the spine?
Placing your thumb on the spine can help with some cutting motions, such as a rocking cut. For most tasks, keep the thumb on the side of the blade near the bolster, clear of the edge.
How long does it take a beginner to hold a knife correctly?
The time varies from person to person and depends on how often you practice. Many beginners feel comfortable with the basic pinch grip within a few weeks of short, regular sessions.
Conclusion
Summary of the key grip points
Learning how to hold a kitchen knife correctly starts with the pinch grip at the bolster. Keep your fingers tucked, your wrist relaxed and your grip light. These habits give you better control, more even cuts and a safer kitchen.
Practice slowly on soft foods and build speed only after your grip feels natural. With steady, short sessions, correct handling becomes second nature.
Mary is a home cooking enthusiast and kitchen gear reviewer with a passion for practical cookware and food preparation tools. She enjoys testing cutting boards, knives, kitchen gadgets, and other cooking essentials to help home chefs make smarter buying decisions. Through KitchenCutting.com, Mary shares honest product reviews, buying guides, and helpful kitchen tips to make cooking easier, safer, and more enjoyable.

One Comment